When starting out in drawing on your own, it can be overwhelming to know where to begin and how to make concrete progress. This is the first challenge that beginners often face.
We tend to copy drawings or photos, but the result never lives up to our expectations. And the reason is quite simple: we are learning in the wrong way.
Yes, it is possible to go down the wrong path and waste a lot of time. You could spend years stagnating in your drawing skills, or, on the other hand, make significant progress in a short amount of time. It all depends on how you approach your learning journey.
Discover our free guide to start drawing easily. You will learn practical methods and exercises to put into practice right away.
1 - Preparing for your drawing journey

First and foremost, it is important to understand that drawing is not about talent. We discuss this in detail in our article “Do You Need Talent to Draw?”
Drawing is primarily a skill that can be learned and practiced. And the development of this skill can vary in speed.
The two types of practices
1
The blind practice
When starting out in drawing, we often simply practice in the hopes of improving over time. This is what I call blind practice.
We draw without really knowing what to do to make progress, ending up with a drawing that we’re not entirely satisfied with without really understanding what’s wrong.
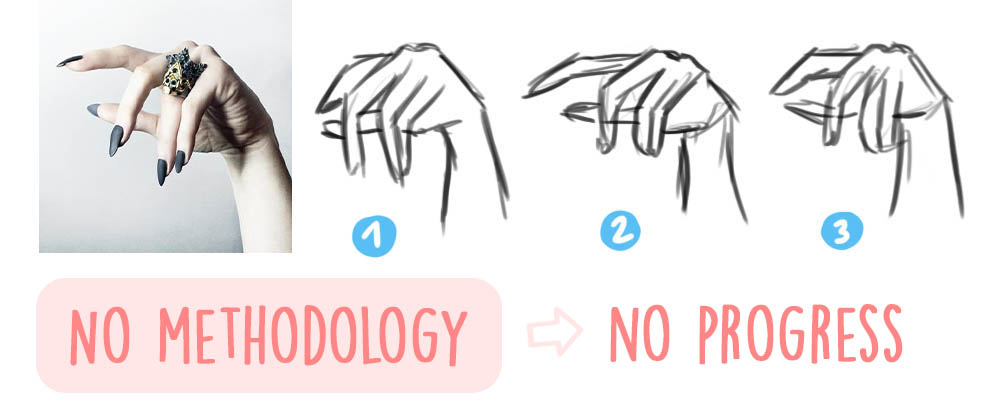
For those who truly want to make progress and achieve their goals (whether it’s for personal projects, drawing from imagination, or working as a professional), blind practice is far from sufficient.
By drawing like this, we risk stagnation and maintaining our skill level for months or even years. The progress is very slow. In itself, it’s not a bad thing if we enjoy it and just want to relax from time to time. But if we want to make progress, it’s clearly not optimal.
2
The smart practice
It is essential to practice with the aim of improving, like an athlete. This is what I call intelligent practice. We will target our exercises and draw to gain skills, rather than focusing solely on creating a beautiful drawing.
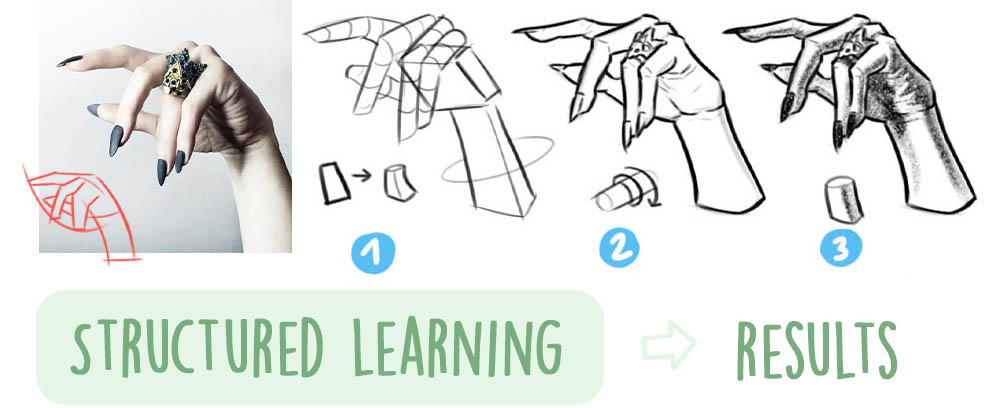
We will engage in a structured training to develop our dexterity, observation skills, and sense of proportions, in order to accelerate our progress. With organized and planned practice, our improvement will be rapid.
That’s how some artists can achieve a professional level in a short period of time. It’s not because they are naturally talented, but rather because they have practiced in the right way to learn more easily and quickly.
So how do we go about practicing in a targeted way to make progress?
Learn the basics of drawing once for all
The basics are the fundamental principles of drawing, the essential skills to develop in order to become a good artist. They are the very first elements to master in order to progress.
The theory may seem tedious, but it can actually be quite enjoyable when applied to fun exercises. The advantage is that once the basics are mastered, we will have a solid foundation and be able to draw anything.
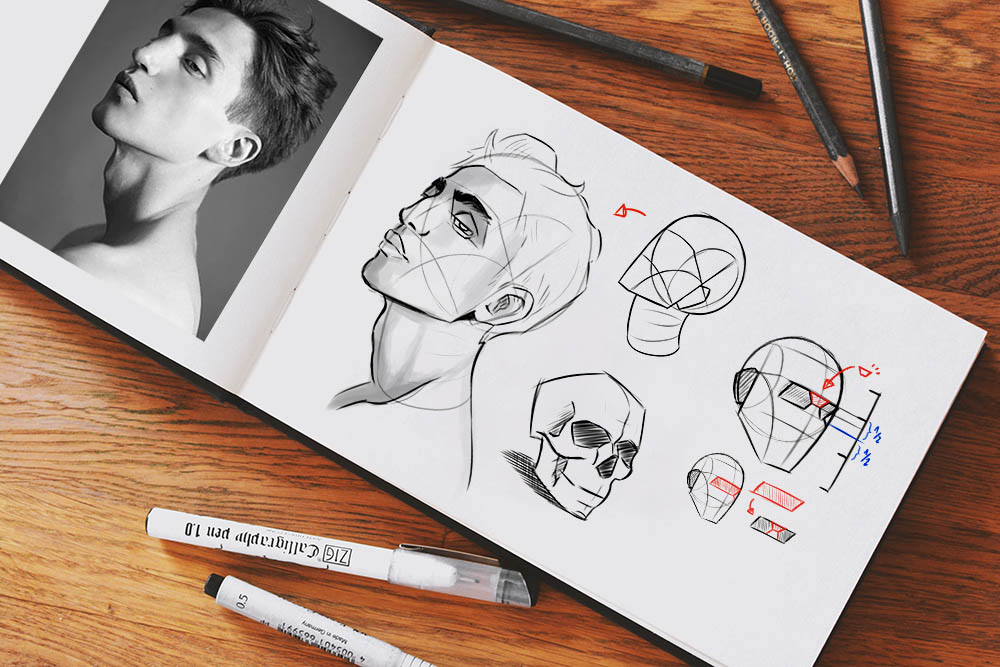
Unfortunately, there are no shortcuts if we truly want to progress in drawing: learning the basics is the first step to achieve results.
Avoiding this step will only delay our learning process because eventually, we will have to go through it.
2 - Simplifying drawing into categories
To make things easier, we can break down the basics of drawing into different categories. This way, everything will seem simpler and clearer to us.
It’s like dissecting our drawing layer by layer. A skilled artist masters all the categories effortlessly because they have taken the time to master each category one by one during their early stages.
1
The first element that makes up the basics of drawing is the most obvious one: it’s the quality of the lines. It forms the first layer of the drawing, its skeleton.
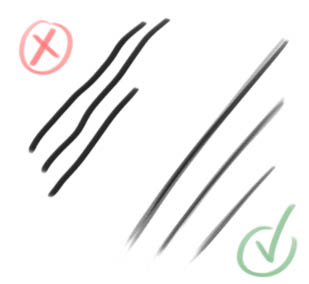
This skill determines our ability to create beautiful, confident, and controlled lines that don’t waver. No matter how well we know how to draw what we want, if our lines are not mastered, the entire drawing will suffer.
2
Proportions
The second category concerns 2D shapes. In reality, we learn to establish our proportions by managing our spacing and ratios.
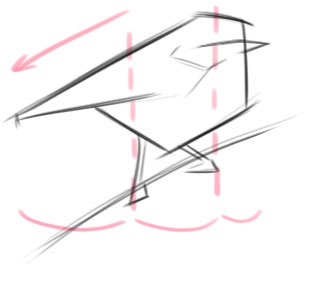
It is essential to create drawings that resemble our references! We develop our 2D vision to see only simple and geometric shapes.
3
Volume
The third category is about basic shapes and volumes. It involves being able to draw in 3D on a 2D surface and simplifying what we see.
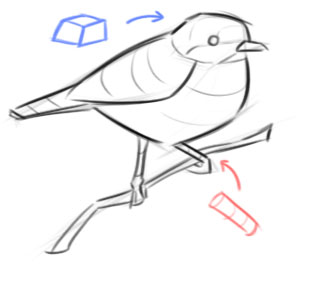
We no longer want to draw the outlines of an object, but rather to understand its basic volume in order to reconstruct it. We start with basic shapes and assemble them to obtain a complex object.
4
Perspective
This category is more technical as it involves creating the illusion of depth in our drawing. Perspective is the application of the physical laws of our world to the drawing, in order to achieve a sense of depth.
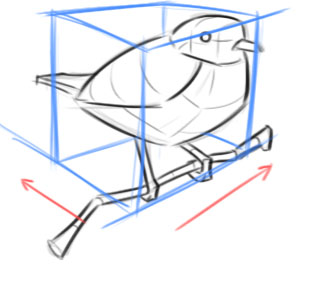
Objects that are farther away from us appear smaller, and we seek to understand these rules in order to apply them to our drawing.
5
Anatomy
Anatomy is a specific knowledge that applies to organic elements such as the human body and animals. Without a basic understanding of anatomy, it will be very difficult to draw coherent volumes.
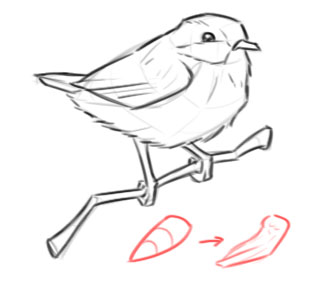
Learning anatomy will allow us to draw animals and figures in motion. Anatomy enables us to truly understand what we are drawing, rather than just copying what we see.
6
Shadows and light
The next layer to apply to our drawing involves shadows and highlights. There is a real physics of light that governs our world and can be translated into our drawings.
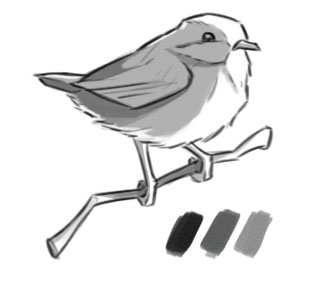
By studying the workings of light, we can learn about the different types of shadows and how to apply them to our drawings. We will even be able to shade any imaginary sketch!
7
Colors
The way light functions also affects colors. By understanding how to choose colors, we can better colorize our drawings based on the lighting conditions.
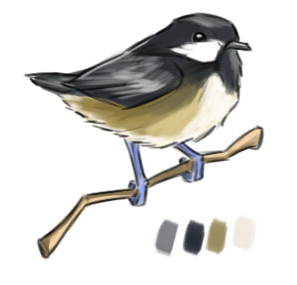
Understanding color theory is essential for better understanding how colors interact with each other. There are formulas that simplify our understanding.
8
Composition
And finally, we come to the last element, which is the composition of the image. We learn to design our drawings to make them more appealing.

Like a director, we can compose our drawing in a way that tells a story, conveys emotions, or simply appears aesthetically pleasing. The goal is to enhance it so that it is impactful and balanced.
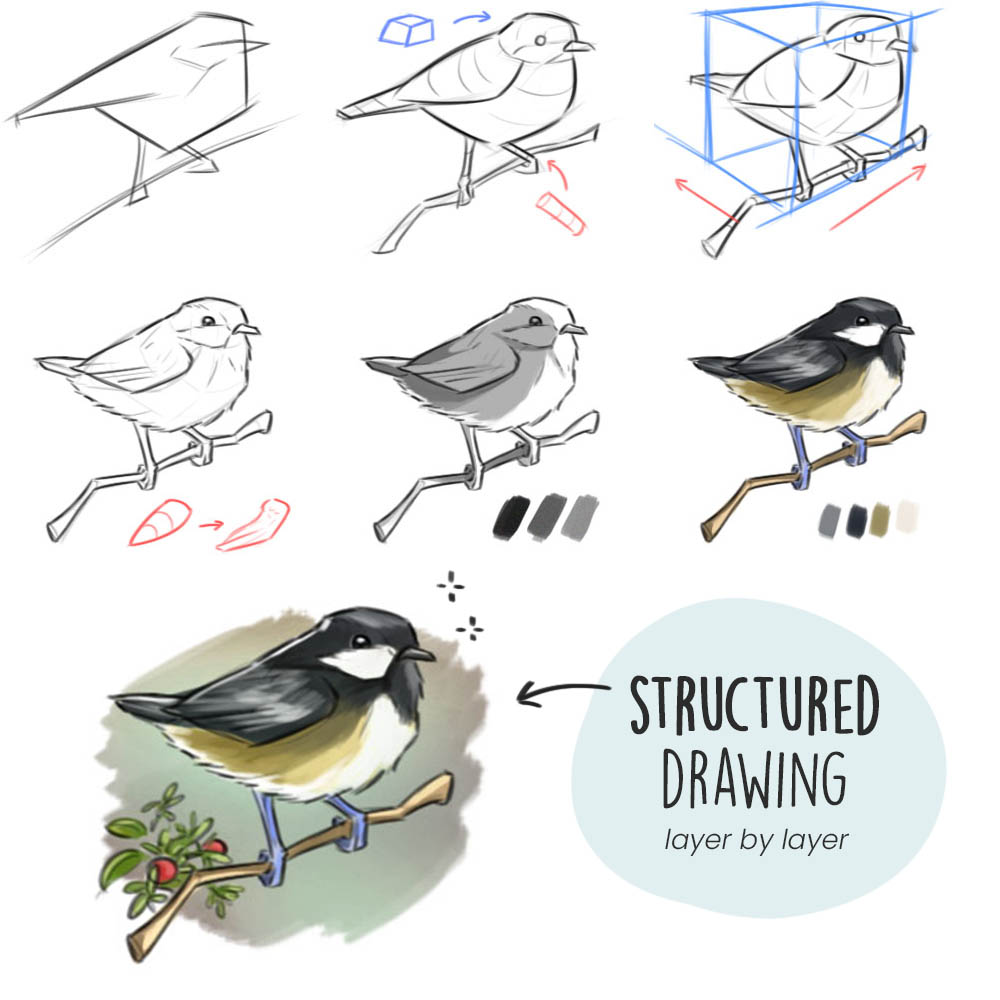
Think about gauges to fill
Now that we have covered the 8 categories of drawing, the idea is to progress in each of them. Imagine that each category has a gauge that fills up as we learn more about it.

At the beginning, we all start with empty gauges. It’s completely normal, we’re not born with a gauge already filled to the top.
Everything can be learned, and our gauges will fill up gradually as we practice and learn.
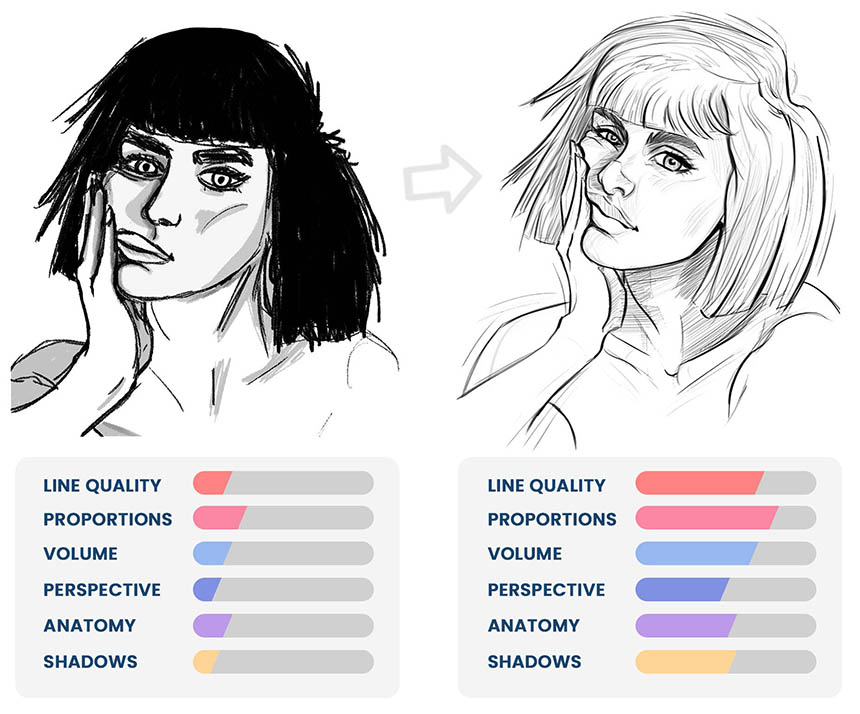
Some gauges will be easier and quicker to fill than others. Sometimes, we may have a natural talent or affinity for a particular category, while others may feel more challenging to us.
It’s like in school, where some people may excel in mathematics, while others shine in sports or literature. These are natural affinities, and the same applies to the categories of drawing.
At the beginning of this article, we may not have been aware of what specific aspects we needed to work on to improve. However, by breaking down drawing into various categories, we now have a clearer understanding.
We will then aim to significantly increase our proficiency in each of these areas and work on them one by one to make progress.
3 - Work on one thing at a time
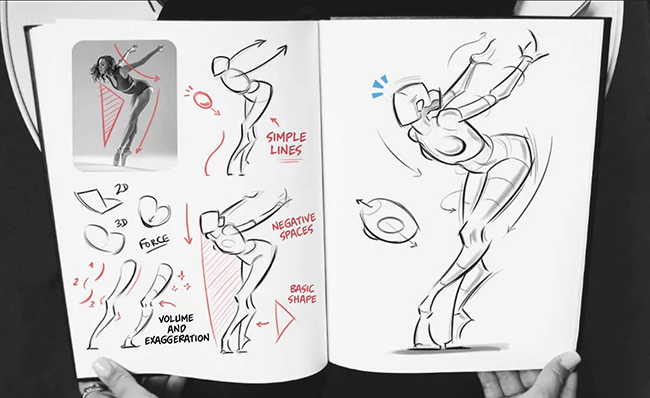
Now, we need to work on each category one by one. We will want to increase our level in mastering the lines, moving from novice to apprentice, for example. This will have an impact on the quality of all our drawings, regardless of what they are.
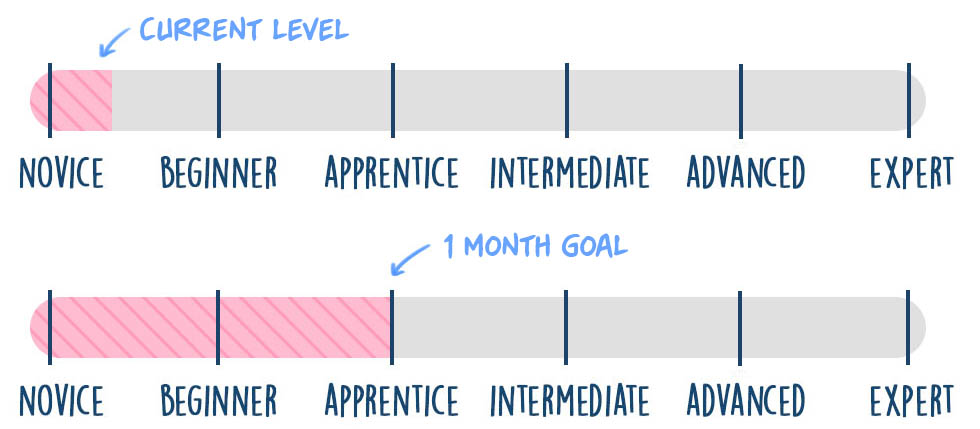
Then, we will do the same with another category, and so on. We don’t have to focus on one category for months, we can switch from one category to another to avoid boredom and routine.
It actually depends on each individual, as we are all different. Some people may need to focus on the same subject for days to fully understand it, while others may prefer to allocate a day of the week to a specific category to vary their learning and cover different areas.
n any case, the rule is simple: always choose one category to work on per drawing. One drawing equals one category. This way, each drawing will have a single objective.
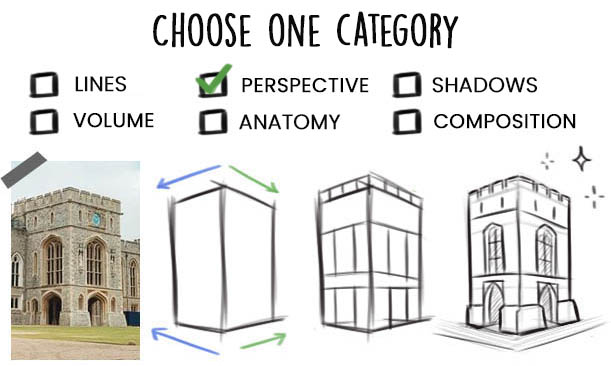
We will no longer strive for a “beautiful” drawing, but instead focus on learning a specific category. At the end of a drawing, we will ask ourselves, “Is my line more controlled than in my drawing from last week?” rather than “Is it beautiful?”
This way, progress will be significantly accelerated as it will be targeted.
4 - The process to adopt for studying drawing
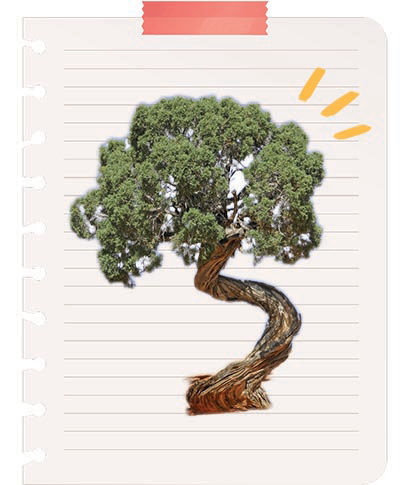
Step 1: Choose a subject
The first step is to choose what we are going to draw. We won’t immediately aim to draw an extremely complex scene, but instead, we’ll start with something basic.
It can be an everyday object, an animal, or a natural element. Let’s draw a tree here!
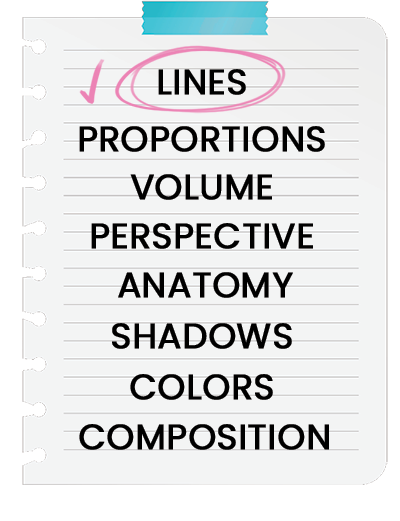
Step 2: Define a category
Next, we will choose a category to focus on. To begin, we will select our first category, “Line quality,” as it is essential to develop this skill first.

Step 3: Gather some photos references
Next, we will gather photo references to make our work easier. Using references is crucial. It allows us to study the subject in depth, understand its intricacies, and reproduce it more accurately.
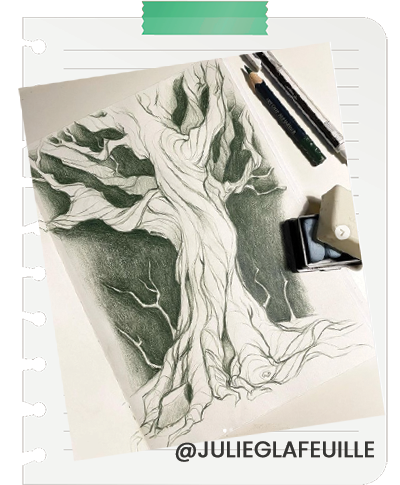
Step 4: Gather references from artists
Then, we will gather drawings from other artists to study their drawing style. Here, we take inspiration from the artist Julie Lafeuille, who uses a lot of curves to create movement.
Choose an artist to study and try to understand their drawing style in order to reproduce it in your own drawing.
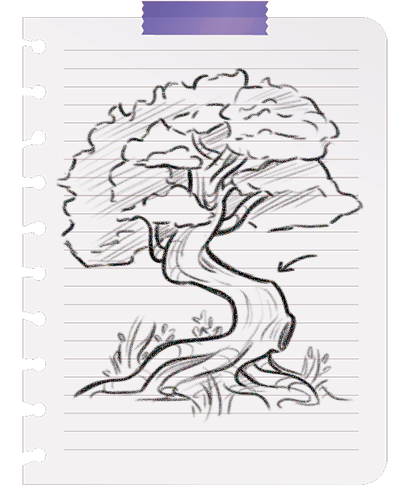
Step 5: Create a quick sketch
And here we go, we start with a quick sketch. The idea is to draw in a short amount of time (5 minutes) while focusing solely on the quality of our lines.
When you draw quickly with a specific goal in mind, you forget about the details and focus on the essentials.
Quick sketches are a great way to break free from perfectionism. Perfectionism can be a real obstacle as it paralyzes us and keeps us within our comfort zone. By drawing without pressure, simply for the joy of learning, you can more easily gain skills and improve.
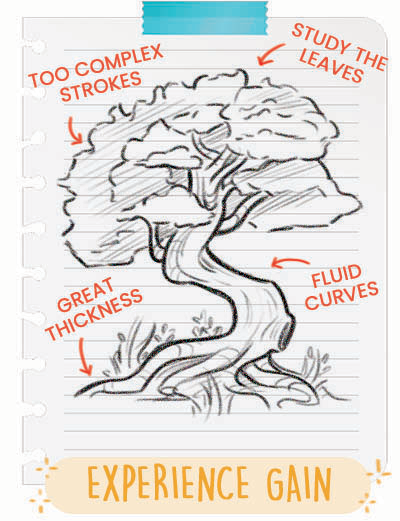
Step 6: Analyze your drawing
To wrap up, we will analyze our sketch. We can note next to each drawing the positive aspects and areas for improvement regarding our lines.
It’s a kind of self-evaluation that will give us a direction to follow for the next time.
To summarize
1 – Prepare for your drawing journey, start with the basics
2 – Simplify drawing into categories to have a clear vision
3 – Work on one category at a time, one drawing equals one subject
4 – Study drawing with a simple 10 minute process
We are capable of developing our drawing skills very quickly, and all of this with pleasure! The only way to achieve this is to organize our learning process and start from the beginning.
Drawing can often be intimidating and discouraging. However, by being methodical, everything becomes simpler.
If you are unsure about how to progress in a specific category, there are plenty of resources available to you, whether it’s through YouTube videos, blog articles, books, or even online courses.
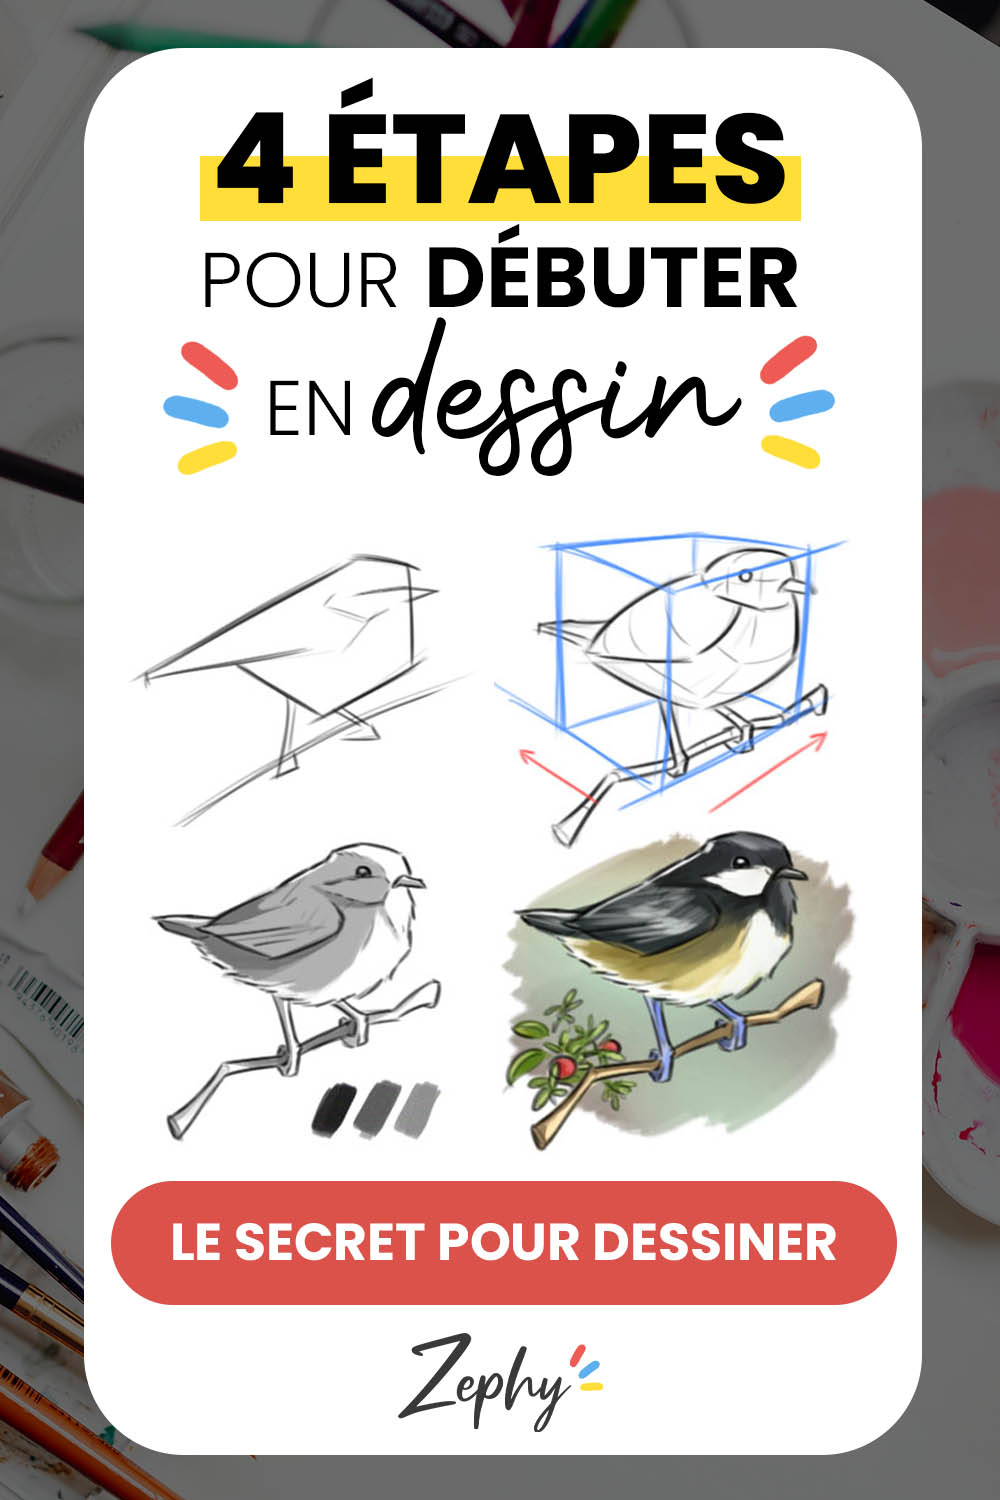

Save the article for future reference!
By hovering over the image, you can directly save the article to your Pinterest account. This also allows us to share the article with a wider audience of aspiring artists!


14 comments
Hello,
A small idea to share for practice. To have some paper resources and practice, the advertisements in the mailbox can be useful. The ones for pet products or clothing, for example.
Hello Neïnna,
It’s true that using newspapers or ads for practice is great!
We can find a lot of inspiration there, thanks for the tip ✨
Woww, thank you so much! I really love it. I hope that one day I can draw properly with the right techniques and the right way.
Thank you for these tips. As a self-taught artist, I can relate to your description. Without a method, I have long tried in vain to achieve details from the start, often with frustration, for example in rendering volumes or perspective… That’s why your advice, from lines and strokes to composition, resonates with me. Thanks again.
Hello!
I came across your article by chance through search engines. Indeed, I was looking for steps to improve my drawing skills as I want to structure my learning.
I wanted to say a big thank you for all this information and a big bravo for the quality! It’s quite rare to find simple and informative content on the web.
See you soon
Hello Edwige,
A big thank you for this sweet comment. I’m truly delighted that you like the content and, most importantly, that it can help you progress!
Happy drawing to you ☀️
Hello, I came across your article by chance, and I find it very interesting. I would love to learn the proper basics of drawing. Thank you so much.
Hello Maria, I’m really glad you liked the article! Feel free to take advantage of our free course to discover the basics; it can be a great start to get into drawing.
Thanks! Regarding these practices.
With pleasure! ✏️
Incredible, for a long time, I’ve been searching to learn how to draw because I had no foundation, and I kept telling myself that drawing was not my thing. I used to follow YouTube videos, but then I struggled to redraw as I wanted.
However, now I’m amazed by your free course and seeing that there are techniques to succeed. You have given me the assurance that I can succeed in this.
I’m not sure if I’m expressing myself well, but a big thank you; it’s very generous of you to share this with us.
Hello Hamed, a big thank you for this kind message! I’m really happy that the free course can help and provide the first keys to progress in drawing. It’s a pleasure to create so much content for you, and there’s more to come!
Thank you, I have learned a lot. I am at the beginner level.
This very great,
I have learnt something very important,
Thank you
I appreciate so much